Spring is here and summer is just around the corner, and with it comes the perfect opportunity to enjoy your outdoor space. Getting your backyard ready for Spring is essential to make the most of the warmer weather. Not only can a well-prepared backyard create a cozy and inviting atmosphere, but it can also increase the value of your home. In this blog post, we’ll explore 10 DIY outdoor projects that can help you get your backyard ready for warmer weather and backyard enjoyment. DIY projects are an excellent option for homeowners looking to spruce up their backyard while staying on a budget. From building a fire pit to constructing a raised garden bed, we’ll cover a range of projects that are easy to execute, affordable, and perfect for creating your dream backyard. So, let’s dive in and discover how to transform your outdoor space and make the most of the upcoming Spring season.
DIY Project #1: Building a Fire Pit
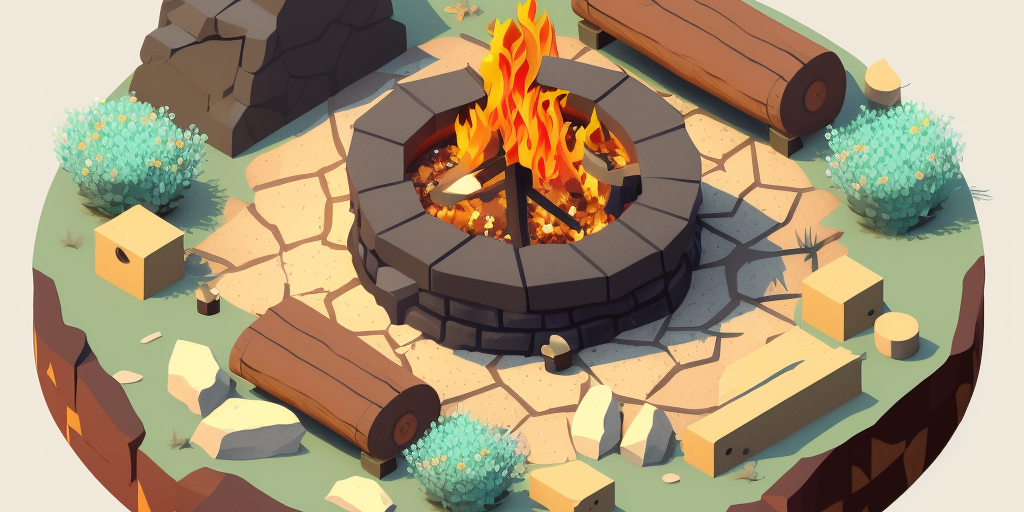
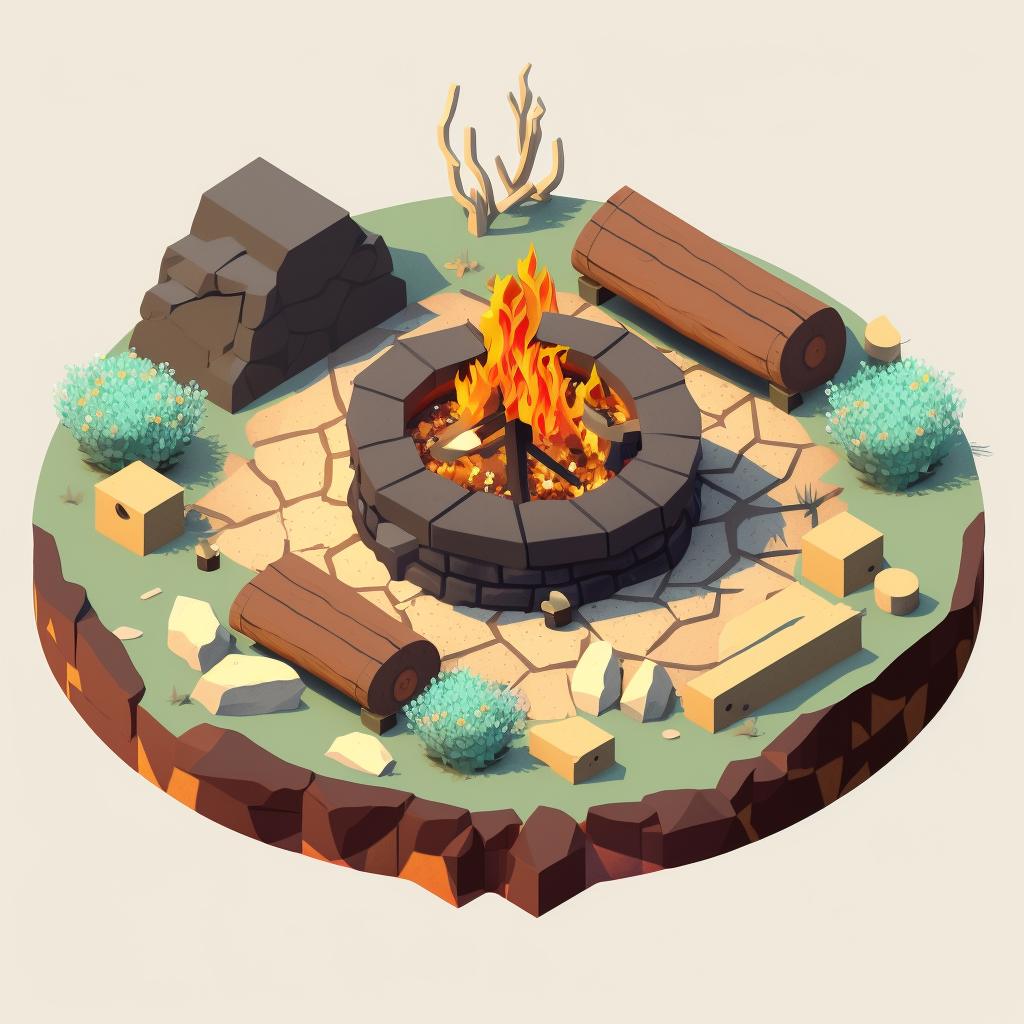 Building a fire pit is a great DIY project that can add a cozy and inviting atmosphere to your backyard. Here are some benefits of having a fire pit in your backyard:
Benefits of Having a Fire Pit in Your Backyard
- A fire pit provides warmth and comfort during cool evenings.
- It creates an inviting atmosphere for entertaining guests or spending time with family and friends.
- A fire pit can be a focal point in your backyard, adding an attractive element to your outdoor space.
- It’s a great way to enjoy the outdoors year-round, not just during the Spring and Summer months.
Materials Needed for Building a Fire Pit
- Bricks or stones (depending on your preference)
- Gravel
- Sand
- Shovel
- Rake
- Level
- Tape Measure
Step-by-Step Instructions for Building a Fire Pit
- Choose a location for your fire pit. Ensure that it is away from any flammable materials such as trees, bushes, or low hanging branches.
- Mark the perimeter of the fire pit with spray paint or a marker. Use a tape measure to ensure that the perimeter is the right size and shape.
- Dig a hole inside the perimeter that is 6 inches deep. Ensure that the hole is level.
- Fill the hole with gravel until it is level.
- Create a second ring of markers around the first one. This will be the outer perimeter of your fire pit.
- Begin stacking your bricks or stones around the outer perimeter. Ensure that they are level and tightly stacked to create a strong structure.
- Continue stacking the bricks or stones until the fire pit reaches your desired height. Leave a space for the fire in the center.
- Once the fire pit is complete, fill the bottom with sand. This will help to insulate the heat and prevent any embers from escaping.
- Test your fire pit by starting a small fire. Enjoy the warmth and comfort of your new DIY fire pit!
In conclusion, building a fire pit is a simple DIY project that can add a lot of character to your backyard while also providing warmth and comfort during the cooler evenings of Spring. With a few basic materials and some simple steps, you can create a fire pit that is perfect for entertaining guests or spending time with your family and friends. So, why not give it a try and start enjoying your backyard to the fullest this Spring?
DIY Project #2: Creating a Herb Garden
Creating a herb garden is a fantastic DIY project that can add fresh flavors to your meals and create an attractive feature in your backyard. Here are some benefits of having a herb garden:
Benefits of Having a Herb Garden
- Fresh herbs are a fantastic way to add flavor to your meals, and having a herb garden right in your backyard is convenient and economical.
- Herbs are easy to grow, making them a perfect option for those who are new to gardening.
- Herbs are a sustainable way to add fresh produce to your meals and reduce the amount of waste from store-bought herbs that often come in plastic packaging.
- A herb garden can be an attractive feature in your backyard, adding greenery and color to your outdoor space.
Materials Needed for Creating a Herb Garden
- Wooden planter or container
- Soil
- Seeds or plants of your chosen herbs
- Garden gloves
- Watering can
- Trowel
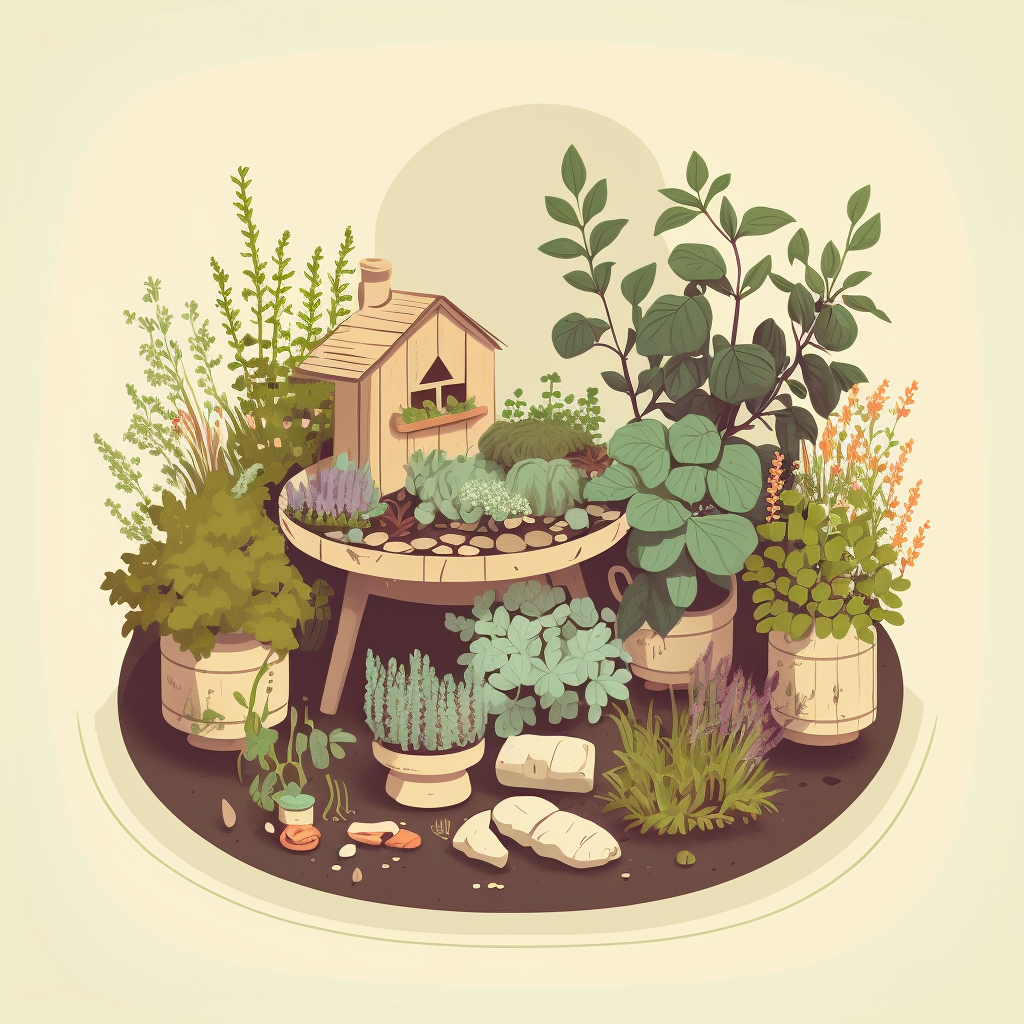
Step-by-Step Instructions for Creating a Herb Garden
- Choose a location for your herb garden that receives adequate sunlight and is easily accessible.
- Select a wooden planter or container that is large enough to accommodate your chosen herbs.
- Fill the planter with soil, leaving a gap of about 1 inch between the top of the soil and the rim of the container.
- Create holes in the soil with a trowel for your herb plants or seeds.
- Plant your herbs according to the instructions on the seed packet or plant label, ensuring that they are spaced out appropriately.
- Water your herb garden thoroughly and keep the soil moist but not waterlogged.
- As your herbs grow, prune them regularly to encourage growth and ensure they don’t become overcrowded.
Tips for Maintaining Your Herb Garden
- Water your herb garden regularly, especially during the hot and dry months of Spring and Summer.
- Ensure that your herb garden receives adequate sunlight to promote healthy growth.
- Prune your herbs regularly to keep them from becoming overcrowded and promote growth.
- Fertilize your herb garden with a natural fertilizer every few weeks to ensure that your herbs have the nutrients they need to thrive.
In conclusion, creating a herb garden is a simple DIY project that can add fresh flavors to your meals while also providing an attractive feature in your backyard. With a few basic materials and some simple steps, you can create a herb garden that will provide you with fresh herbs for months to come. So, why not give it a try and start enjoying the taste and benefits of fresh herbs in your meals this Spring?
DIY Project #3: Constructing a Pergola
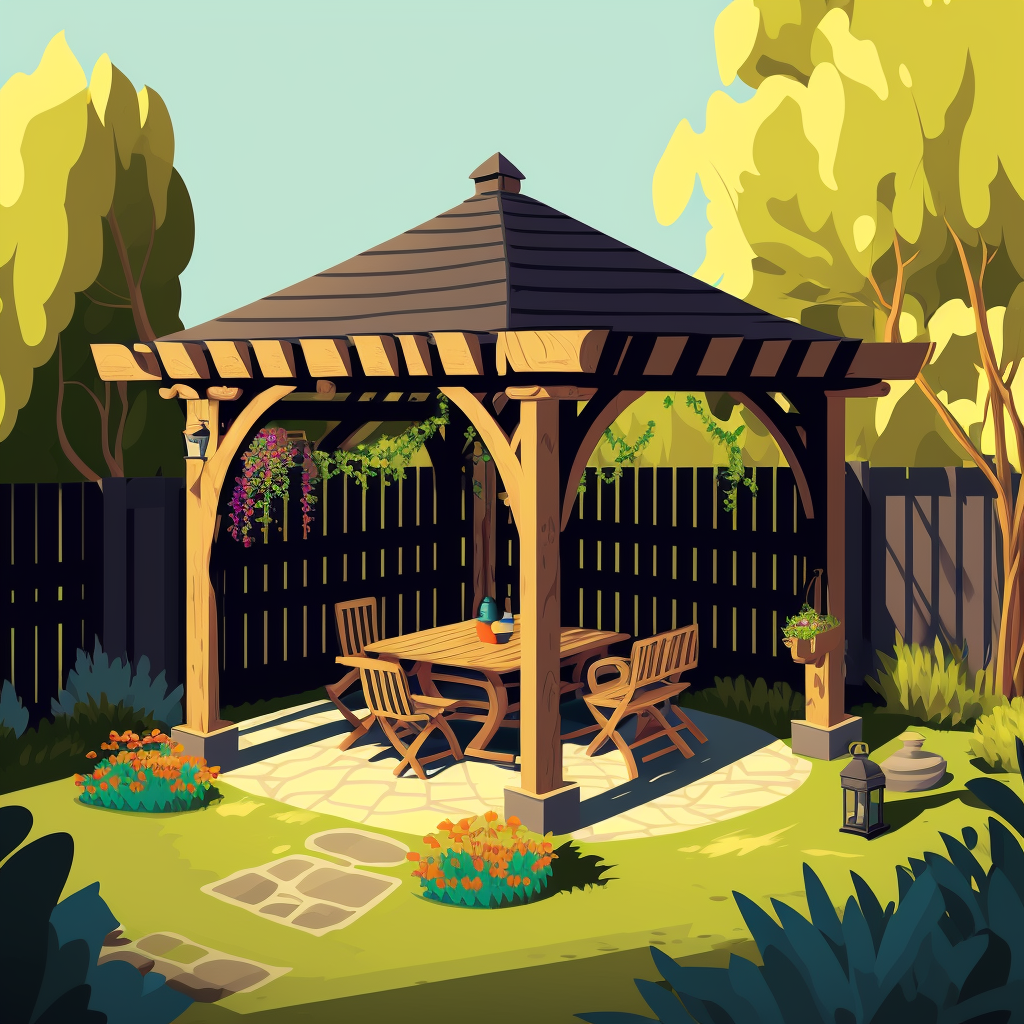
Constructing a pergola is a great DIY project that can create shade and add privacy to your backyard. Here are some benefits of having a pergola in your backyard:
Benefits of Having a Pergola in Your Backyard
- A pergola provides shade, making it a perfect option for enjoying your backyard during the warmer months.
- It can be an attractive feature in your backyard, adding a unique element to your outdoor space.
- A pergola can add privacy to your backyard, creating a cozy and intimate atmosphere.
- It can be used as a frame for vines or hanging plants, adding more greenery and beauty to your backyard.
Materials Needed for Constructing a Pergola
- Lumber
- Cement
- Post anchors
- Beams
- Crossbeams
- Screws
- Post caps
- Metal brackets
- Measuring tape
- Drill
- Level
- Saw
Step-by-Step Instructions for Constructing a Pergola
- Choose a location for your pergola that is level and has enough space to accommodate the size of your pergola.
- Dig holes for your posts and insert the post anchors into the holes.
- Mix cement and pour it into the holes with the post anchors. Allow the cement to dry.
- Attach the beams to the posts with metal brackets and screws.
- Attach the crossbeams to the beams with screws, ensuring that they are level and evenly spaced.
- Install post caps onto the posts to give them a finished look.
Tips for Maintaining Your Pergola
- Apply a wood stain or sealant to protect the wood from the elements.
- Regularly clean the pergola to remove dirt and debris.
- Consider planting vines or hanging plants to add more beauty and greenery to your pergola.
In conclusion, constructing a pergola is a great DIY project that can add shade and privacy to your backyard while also creating an attractive feature. With a few basic materials and some simple steps, you can create a pergola that will provide you with a cozy and intimate atmosphere to enjoy your outdoor space during the warmer months. So, why not give it a try and start creating your dream backyard this Spring?
DIY Project #4: Installing Outdoor Lighting

Installing outdoor lighting is an excellent DIY project that can add warmth and ambiance to your backyard. Here are some benefits of having outdoor lighting:
Benefits of Having Outdoor Lighting
- Outdoor lighting can create a warm and inviting atmosphere in your backyard, making it a perfect option for entertaining guests or spending time with family and friends.
- It can increase safety by illuminating pathways and dark areas of your backyard, reducing the risk of tripping or falling.
- Outdoor lighting can add beauty and dimension to your outdoor space, highlighting certain features and creating a visually appealing landscape.
- It can extend your time in your backyard by providing illumination during the evening and night.
Materials Needed for Installing Outdoor Lighting
- Outdoor lighting fixtures (string lights, lanterns, solar-powered lights)
- Extension cords
- Screws or hooks
- Drill
- Measuring tape
Step-by-Step Instructions for Installing Outdoor Lighting
- Choose the type of outdoor lighting that you would like to install.
- Measure the length of the area where you would like to install the lighting to determine how much lighting you need.
- Secure the lights in place by attaching them to screws or hooks that are drilled into the walls, trees, or posts.
- Use extension cords to connect the lights to a power source if necessary.
Tips for Maintaining Your Outdoor Lighting
- Clean your outdoor lighting fixtures regularly to remove dirt and debris.
- Check the cords and wires periodically to ensure they are not damaged.
- Replace any burnt-out bulbs promptly to ensure the lighting is effective and working correctly.
In conclusion, installing outdoor lighting is a simple DIY project that can create a warm and inviting atmosphere in your backyard while also adding safety, beauty, and extending your time outside. With a few basic materials and some simple steps, you can create an outdoor space that is perfect for spending time with family and friends during the evening and night. So, why not give it a try and start illuminating your backyard this Spring?
DIY Project #5: Building a Tree Bench

Building a tree bench is a fun DIY project that can provide a comfortable seating area in your backyard while also adding a unique and attractive feature. Here are some benefits of having a tree bench:
Benefits of Having a Tree Bench
- A tree bench provides a comfortable seating area in your backyard, making it a perfect spot for relaxing and enjoying the outdoors.
- It can add a unique and attractive feature to your outdoor space, creating a visually appealing landscape.
- A tree bench can provide a great relaxing seat underneath the shade on a sunny day, making it a great option for spending time outside during the warmer months.
- It can add value to your property by creating a functional and attractive outdoor feature.
Materials Needed for Building a Tree Bench
- Lumber
- Screws
- Wood glue
- Measuring tape
- Circular saw
- Power drill
- Sandpaper
- Stain or sealant
Step-by-Step Instructions for Building a Tree Bench
- Measure the circumference of the tree trunk where you want to install the bench to determine the size of the bench you need to build.
- Cut the lumber to the appropriate length, ensuring that you have enough boards to create the base and the backrest of the bench.
- Attach the base boards together with screws, creating a circle that fits snugly around the tree trunk.
- Attach the backrest boards to the base with screws, ensuring that they are angled for comfort.
- Use wood glue to secure any loose or wobbly joints.
- Sand the bench to remove any rough edges and create a smooth surface.
- Stain or seal the bench to protect it from the elements.
Tips for Maintaining Your Tree Bench
- Clean your tree bench regularly to remove dirt and debris.
- Reapply stain or sealant every year or so to protect the bench from the elements and keep it looking new.
- Check the joints and screws periodically to ensure that they are tight and secure.
In conclusion, building a tree bench is a great DIY project that can provide a comfortable and attractive seating area in your backyard. With a few basic materials and some simple steps, you can create a unique and functional feature that is perfect for relaxing and enjoying the outdoors. So, why not give it a try and start creating your dream backyard this Spring?
DIY Project #6: Making a Birdhouse
 Making a birdhouse is a great DIY project that can add beauty and functionality to your backyard while also providing a home for local birds. Here are some benefits of having a birdhouse:
Benefits of Having a Birdhouse
- A birdhouse can provide a home for local birds, helping to support their populations and add to the biodiversity of your backyard.
- It can add a decorative element to your outdoor space, creating an attractive feature that can be enjoyed by both people and birds.
- A birdhouse can help control pests and insects by encouraging birds to nest in your backyard and eat insects that can damage plants.
- It can provide entertainment for the whole family by allowing you to observe and learn about the birds that visit your backyard.
Materials Needed for Making a Birdhouse
- Wood (cedar, pine, or other weather-resistant wood)
- Screws
- Nails
- Wood glue
- Measuring tape
- Saw
- Sandpaper
- Paint or stain (optional)
- Drill
Step-by-Step Instructions for Making a Birdhouse
- Choose the type of birdhouse you would like to make, such as a nesting box or a feeder house.
- Measure and cut the wood to the appropriate length and shape.
- Assemble the wood pieces together with nails or screws, using wood glue to secure any loose joints.
- Create a hole for the birdhouse entrance, ensuring that it is the appropriate size for the type of bird you want to attract.
- Sand the birdhouse to remove any rough edges and create a smooth surface.
- Paint or stain the birdhouse if desired, using colors that will attract birds and complement your outdoor space.
- Attach the birdhouse to a post, tree, or fence, ensuring that it is at the appropriate height and location for the type of bird you want to attract.
Tips for Maintaining Your Birdhouse
- Clean your birdhouse regularly to remove dirt and debris.
- Check the birdhouse periodically for any damage or signs of wear and tear.
- Refill bird feeders or water sources regularly to ensure that the birds continue to visit your backyard.
In conclusion, making a birdhouse is a fun and rewarding DIY project that can provide a home for local birds while also adding beauty and functionality to your backyard. With a few basic materials and some simple steps, you can create a unique and attractive feature that will provide entertainment for the whole family. So, why not give it a try and start welcoming the birds into your backyard this Spring?
Project #7: Painting an Outdoor Rug
Painting an outdoor rug is a fun DIY project that can add color and personality to your outdoor space while also providing a functional element for your backyard. Here are some benefits of having an outdoor rug:
Benefits of Having an Outdoor Rug
- An outdoor rug can add comfort and style to your outdoor seating areas, creating a cozy and welcoming atmosphere.
- It can help define different areas of your backyard, such as a dining area or a lounge area.
- A painted outdoor rug can add a unique and personal touch to your outdoor space, reflecting your personality and style.
- An outdoor rug can protect your outdoor surfaces, such as a deck or patio, from damage and wear.
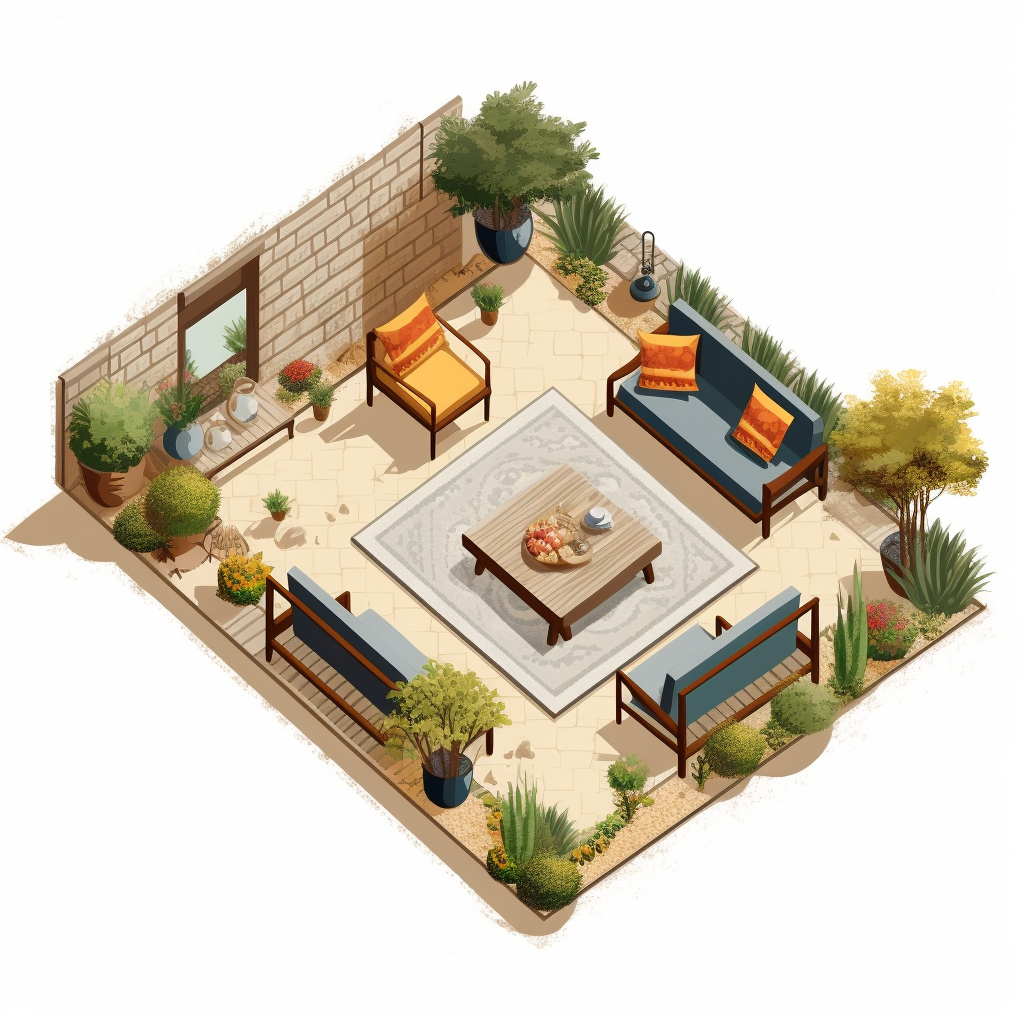 Materials Needed for Painting an Outdoor Rug
- Plain outdoor rug
- Acrylic paint
- Paintbrushes
- Painter’s tape
- Ruler or straight edge
- Stencils (optional)
- Sealer spray (optional)
Choosing the type of rug to paint for the outdoors
When choosing a rug to paint on for your outdoor space, it is important to select a rug that is durable, weather-resistant, and easy to clean. Here are some types of rugs that are good to paint on to create an outdoor rug:
- Polypropylene Rugs: Polypropylene rugs are a popular choice for outdoor rugs because they are durable and can withstand exposure to the elements. They are also easy to clean and maintain, making them ideal for high-traffic outdoor areas.
- Jute Rugs: Jute rugs are a natural fiber rug that can add a rustic or bohemian feel to your outdoor space. They are durable and can be painted on using acrylic paints, but they are not as weather-resistant as polypropylene rugs.
- Sisal Rugs: Sisal rugs are another natural fiber rug that can be used for outdoor spaces. They are durable and have a rough texture, which can make painting on them more challenging. However, sisal rugs can add a sophisticated and earthy element to your outdoor space.
- Outdoor Carpet Tiles: Outdoor carpet tiles are a versatile and easy-to-install option for outdoor rugs. They are weather-resistant, easy to clean, and can be arranged in various designs and patterns. Plus, they can be painted on using acrylic paints to create a unique and personalized outdoor rug.
In summary, polypropylene, jute, sisal, and outdoor carpet tiles are all good options for creating an outdoor rug that can be painted on. It is important to choose a rug that is durable, weather-resistant, and easy to clean, so that it can withstand exposure to the elements and maintain its appearance over time.
Step-by-Step Instructions for Painting an Outdoor Rug
- Choose a plain outdoor rug that is the appropriate size and style for your outdoor space.
- Decide on the design or pattern that you would like to paint on your rug.
- Use painter’s tape and a ruler or straight edge to create straight lines or geometric patterns on the rug.
- Paint the desired design onto the rug with acrylic paint, using stencils if necessary.
- Allow the paint to dry completely before removing the painter’s tape.
- Apply a sealer spray to protect the painted surface from the elements.
Tips for Maintaining Your Outdoor Rug
- Clean your outdoor rug regularly to remove dirt and debris.
- Avoid using harsh chemicals or abrasive cleaners that can damage the painted surface.
- Store your outdoor rug in a dry and covered area during the off-season to protect it from the elements.
In conclusion, painting an outdoor rug is a creative and easy DIY project that can add color and personality to your outdoor space while also providing a functional element for your backyard. With a few basic materials and some simple steps, you can create a unique and personalized rug that will reflect your style and enhance your outdoor seating areas. So, why not give it a try and start painting your own outdoor rug this Spring?
DIY Project #8: Creating a Vertical Garden
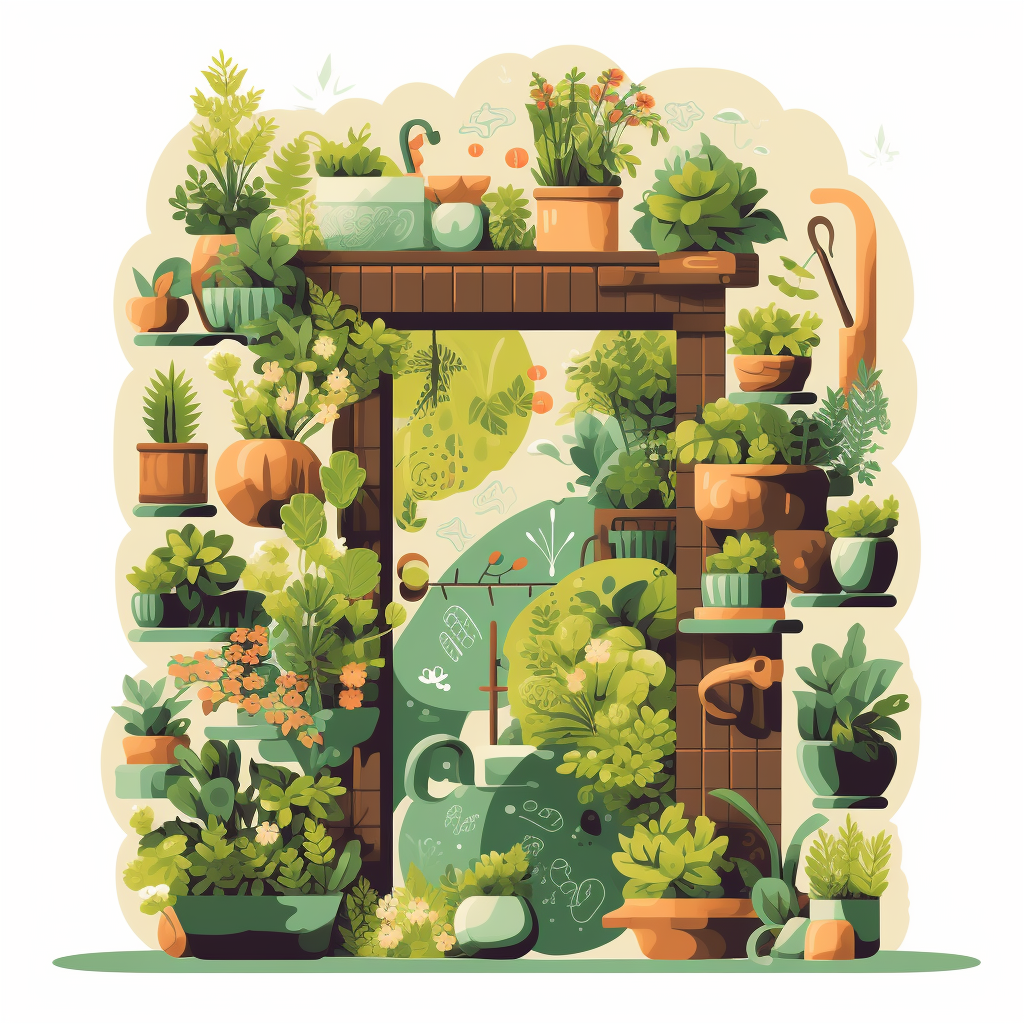 Creating a vertical garden is a wonderful DIY project that can add beauty, functionality, and greenery to your outdoor space. Here are some benefits of having a vertical garden:
Benefits of Having a Vertical Garden
- A vertical garden can maximize your outdoor space, creating a green and lush oasis in a small area.
- It can add privacy and create a barrier between you and your neighbors or a busy street, creating a cozy and intimate atmosphere.
- A vertical garden can help purify the air, reducing pollutants and improving the air quality in your backyard.
- It can be an attractive feature that can add value to your property and improve your home’s curb appeal.
Materials Needed for Creating a Vertical Garden
- Vertical garden planter (such as a pallet, a living wall system, or a DIY gutter garden)
- Potting soil
- Plants (such as herbs, succulents, or small flowers)
- Hand trowel or garden gloves
- Watering can or garden hose
Step-by-Step Instructions for Creating a Vertical Garden
- Choose a vertical garden planter that is appropriate for your outdoor space and style. This could be a pallet, a living wall system, or a DIY gutter garden.
- Fill the planter with potting soil, ensuring that it is evenly distributed and compacted.
- Choose plants that are appropriate for your outdoor space and the amount of sunlight and water they require. Herbs, succulents, and small flowers are all great options for vertical gardens.
- Use a hand trowel or garden gloves to plant the plants in the planter, ensuring that they are evenly spaced and at the appropriate depth.
- Water the plants regularly, ensuring that the soil is moist but not waterlogged.
- Hang the planter in a secure and stable location, ensuring that it is level and stable.
Tips for Maintaining Your Vertical Garden
- Water your plants regularly, ensuring that they receive enough water to thrive but not so much that the soil becomes waterlogged.
- Use fertilizers or organic matter to add nutrients to the soil and promote plant growth.
- Trim or prune your plants regularly to promote healthy growth and prevent overcrowding.
In conclusion, creating a vertical garden is a great DIY project that can maximize your outdoor space, add greenery and beauty to your backyard, and provide many benefits. With a few basic materials and some simple steps, you can create a unique and attractive feature that will add value to your property and improve your home’s curb appeal. So, why not give it a try and start creating your dream backyard this Spring?
Project #9: Installing a Hammock
Installing a hammock is a great DIY project that can add a relaxing and comfortable element to your outdoor space. Here are some benefits of having a hammock:
Benefits of Having a Hammock
- A hammock can provide a comfortable and relaxing seating option in your outdoor space, allowing you to take a break and enjoy the outdoors.
- It can be a great spot for napping, reading, or meditating, helping you to unwind and de-stress.
- A hammock can add a unique and attractive feature to your backyard, creating a visually appealing landscape.
- It can provide a fun and exciting activity for the whole family, allowing you to swing and play in your own backyard.
Materials Needed for Installing a Hammock
- Hammock (rope, fabric, or quilted)
- Tree straps or hammock stand
- Carabiners or S-hooks
- Tape measure
- Drill
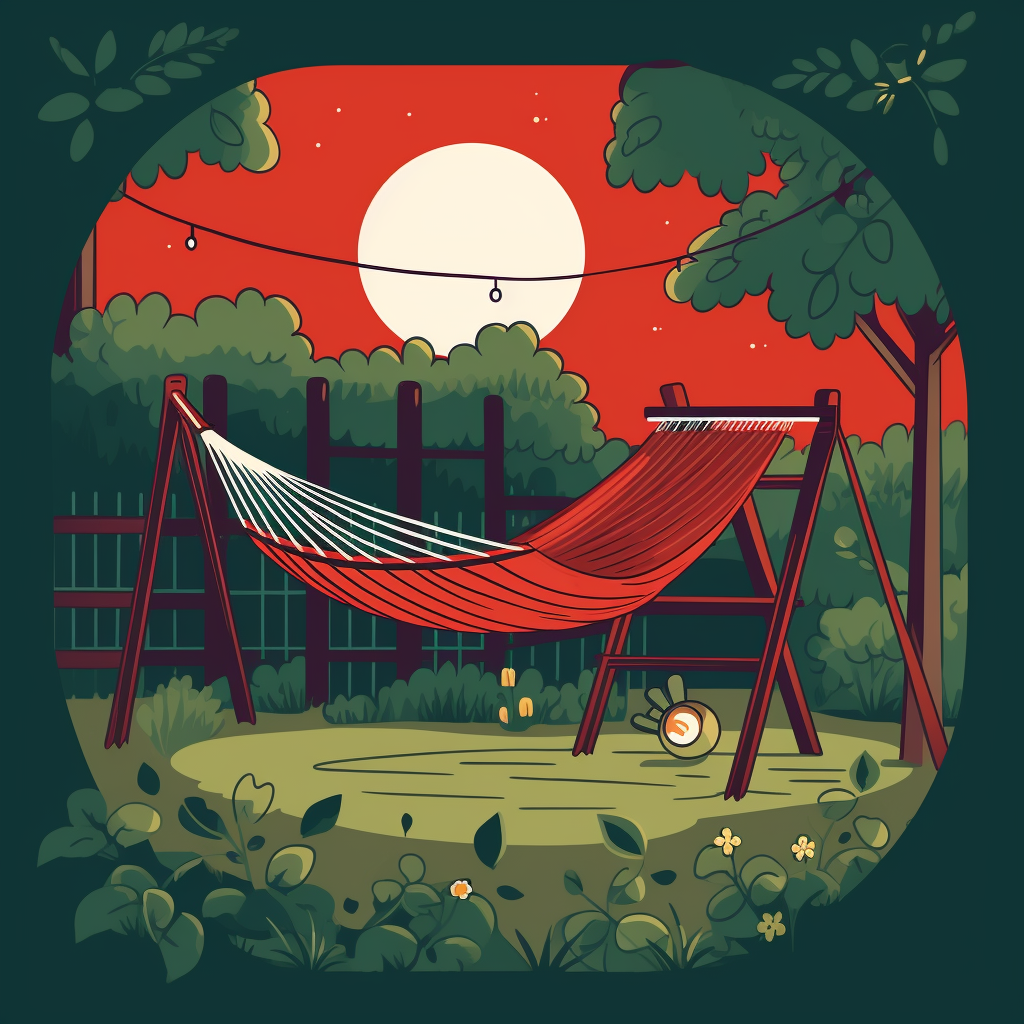
Step-by-Step Instructions for Installing a Hammock
- Choose the appropriate location for your hammock, ensuring that it is a safe and secure spot that can support the weight of the hammock and the people who will be using it.
- Install tree straps or a hammock stand according to the manufacturer’s instructions, ensuring that they are stable and secure.
- Attach the hammock to the tree straps or hammock stand using carabiners or S-hooks, ensuring that it is level and centered.
- Adjust the tension of the hammock, ensuring that it is taut and not sagging in the middle.
- Test the hammock to ensure that it is secure and safe to use.
Tips for Maintaining Your Hammock
- Clean your hammock regularly to remove dirt and debris.
- Store your hammock in a dry and covered area during the off-season to protect it from the elements.
- Check the tree straps or hammock stand regularly for any signs of wear and tear.
In conclusion, installing a hammock is a fun and easy DIY project that can add a comfortable and relaxing seating option to your outdoor space. With a few basic materials and some simple steps, you can create a unique and attractive feature that will provide entertainment and relaxation for the whole family. So, why not give it a try and start installing your own hammock this Spring?
DIY Project #10: Building a Raised Garden Bed
Building a raised garden bed is a great DIY project that can provide numerous benefits for your backyard. Here are some benefits of having a raised garden bed:
Benefits of Having a Raised Garden Bed
- A raised garden bed can help improve the quality of your soil, providing better drainage and aeration.
- It can provide better control over the soil and the plants that are grown, reducing the risk of weeds, pests, and diseases.
- A raised garden bed can make gardening more accessible and enjoyable, reducing the strain on your back and knees.
- It can be an attractive and decorative feature in your backyard, enhancing your outdoor space and improving your home’s curb appeal.
Materials Needed for Building a Raised Garden Bed
- Lumber (such as cedar or redwood)
- Screws or nails
- Corner braces
- Drill
- Circular saw or handsaw
- Measuring tape
- Level
- Soil and plants
Step-by-Step Instructions for Building a Raised Garden Bed
- Determine the location and size of your raised garden bed, ensuring that it is in a sunny and level spot that can support the weight of the garden bed.
- Cut the lumber to the desired length and width, ensuring that the corners are squared and even.
- Assemble the lumber together with screws or nails, using corner braces to secure the corners and ensure stability.
- Add a layer of cardboard or landscape fabric to the bottom of the garden bed to prevent weeds and grass from growing.
- Fill the garden bed with soil and plants, ensuring that the soil is evenly distributed and well-drained.
- Water the plants regularly and provide appropriate care based on the type of plants that are grown.
Tips for Maintaining Your Raised Garden Bed
- Fertilize your garden bed regularly to provide necessary nutrients for your plants.
- Weed your garden bed regularly to prevent competition with your plants.
- Water your garden bed regularly to prevent drying out.
Summary
In conclusion, building a raised garden bed is a rewarding and practical DIY project that can provide numerous benefits for your backyard. With a few basic materials and some simple steps, you can create a unique and attractive feature that will enhance your outdoor space and improve your home’s curb appeal. So, why not give it a try and start building your own raised garden bed this Spring?
In conclusion, getting your backyard ready for Spring with DIY outdoor projects is a great way to enhance your outdoor space and enjoy the warmer weather. We’ve covered 10 different projects that can help you create a beautiful and functional backyard that you’ll love spending time in. Let’s recap the projects we’ve covered:
- Building a fire pit
- Creating a herb garden
- Constructing a pergola
- Installing outdoor lighting
- Building a tree bench
- Making a birdhouse
- Painting an outdoor rug
- Creating a vertical garden
- Installing a hammock
- Building a raised garden bed
Each of these projects can provide numerous benefits for your backyard and can be completed with a few basic materials and some simple steps. So, why not get started on one or more of these projects and create a backyard that you’ll love spending time in this Spring?
In addition to enhancing your outdoor space, these projects can also be a fun and rewarding way to spend time with family and friends, learning new skills, and creating memories. Whether you’re looking to add some greenery, create a cozy seating area, or add a decorative feature to your backyard, there’s a DIY project that’s perfect for you.
At Ryser’s Landscape Supply, we understand that DIY projects can be challenging and intimidating, especially if you are new to gardening or landscaping. That’s why we are here to help! If you have any questions about your DIY project, or if you need assistance in selecting the right materials or tools, our team of experts is always available to help you. We can provide you with guidance and advice on how to tackle your project, and help you find the right resources to make your backyard dreams a reality. Don’t hesitate to reach out to us for assistance, and let us help you create the backyard of your dreams!

